Event settings reference
Open Settings inside an event to configure it. The options fall into a few groups.
Public Information
- Name — your event's title, shown to attendees.
- Starts & Ends — the date and time your event runs.
- Location & Contact Email — the venue or address and where attendee questions go.
- Brand assets — expand this area to change the event's logo, favicon, and banner.
Signup Limits
- Maximum Participants — cap the number of participants, or leave it empty for unlimited.
- Allow registering multiple people — let one account register several people, each with an independent registration. See Registering multiple people.
- How registrations close — appears after you set a participant limit. Choose one:
- Use a deadline — close at a set date and optionally lock payment-related changes afterward.
- Use a waiting list — keep accepting interest after the event fills. Set the Payment window in hours for each promoted entry. See Capacity, availability & waitlists.
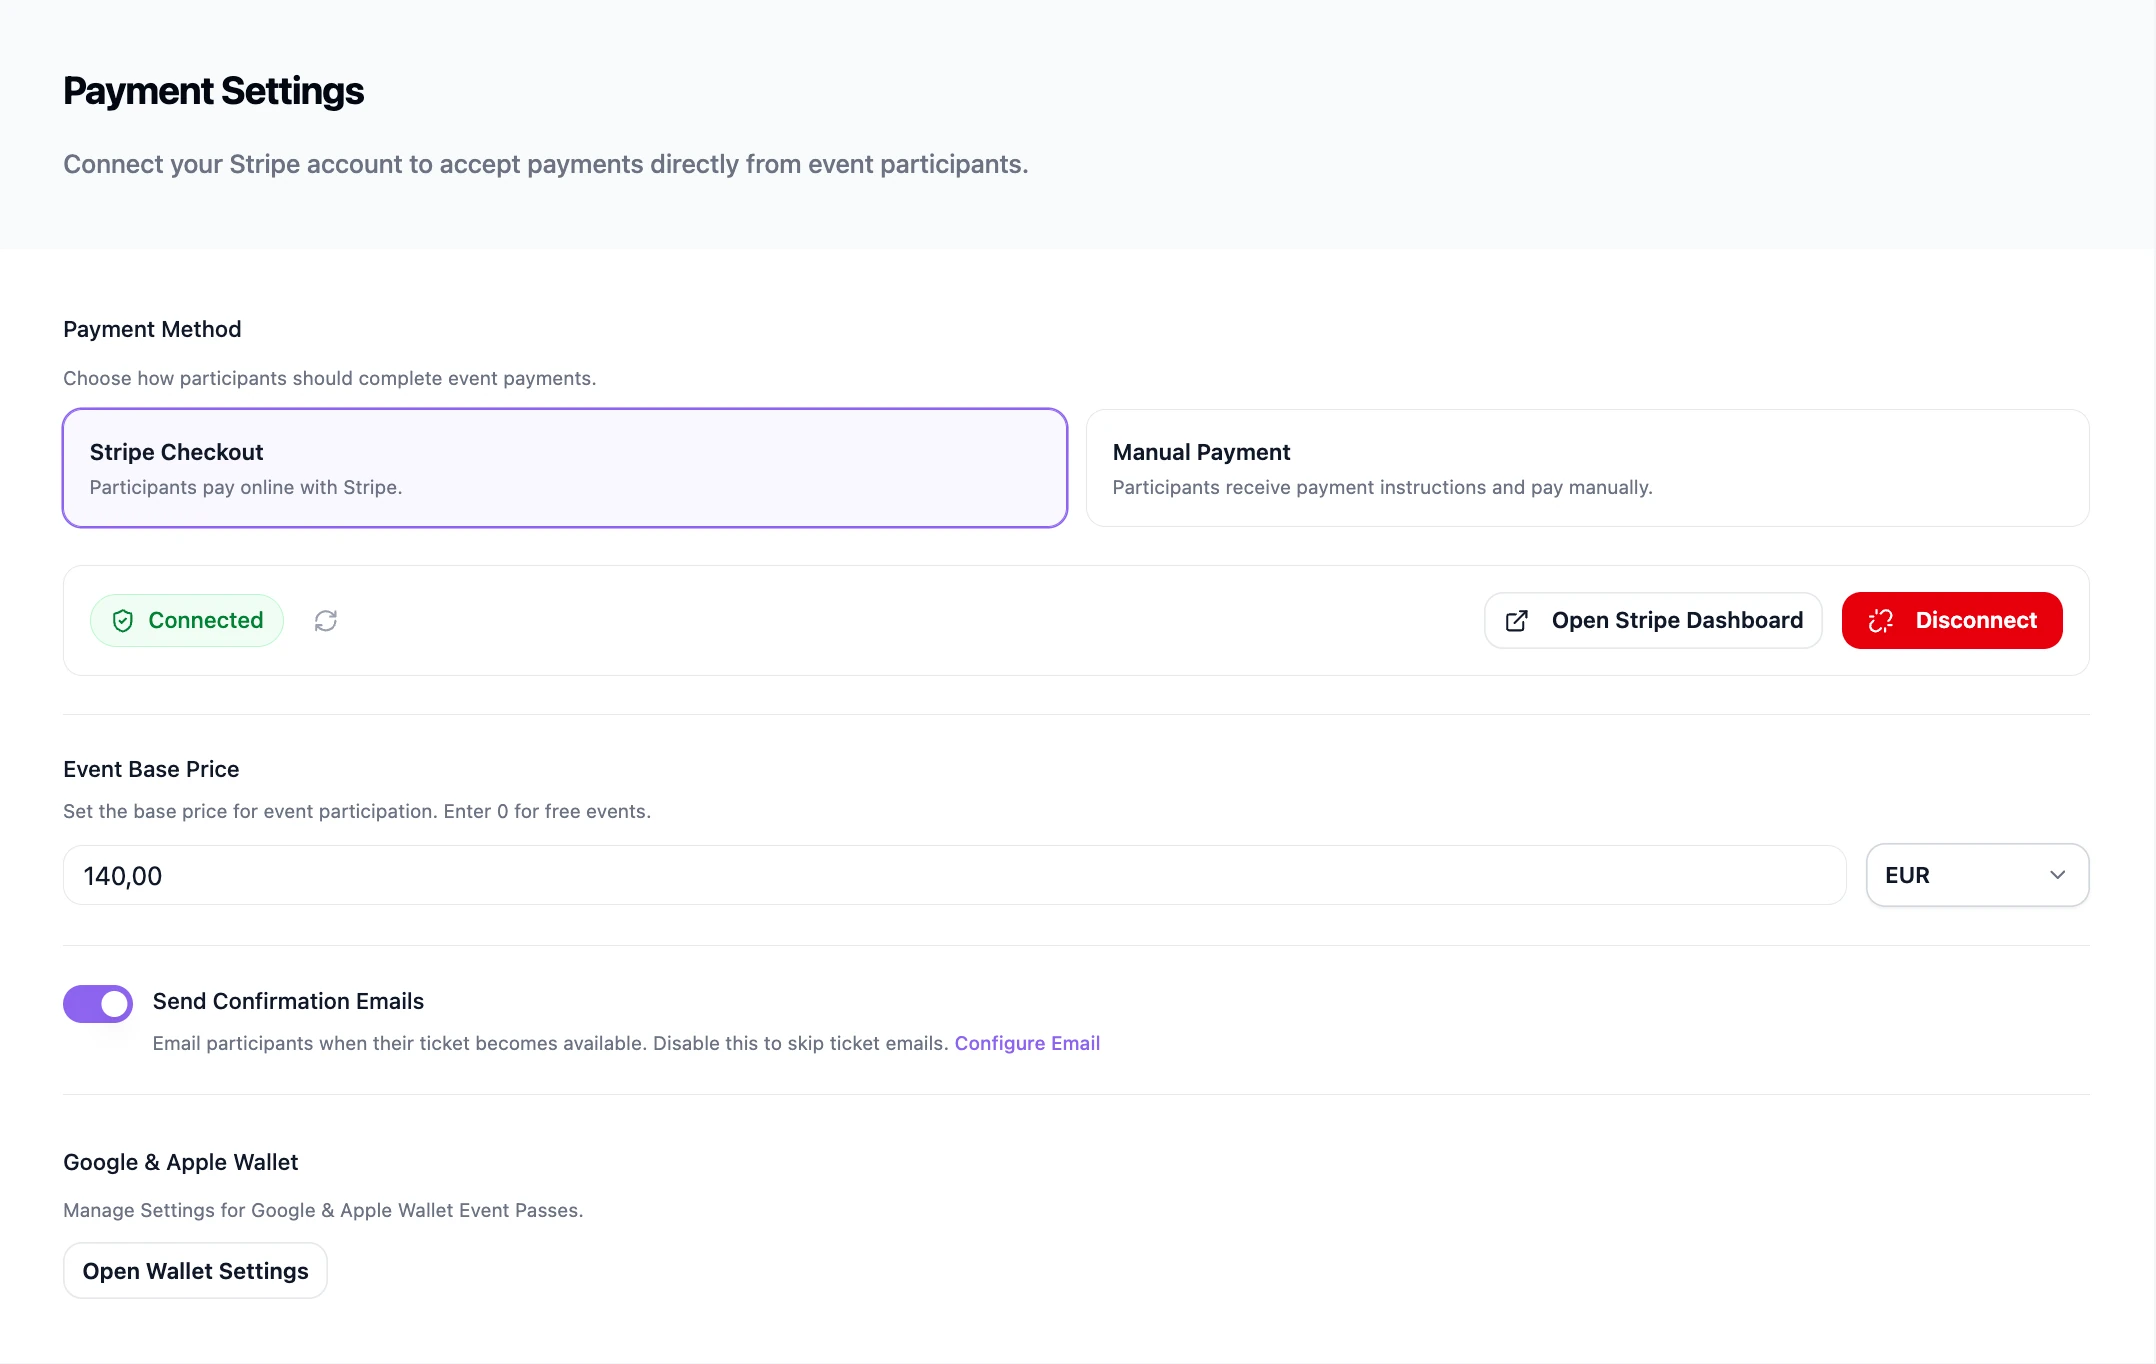
Payment Settings
- Payment Method — choose Stripe Checkout for online card payments or Manual Payment to show your own instructions. See Collecting payments with Stripe.
- Event Base Price and currency — set the ticket price, or enter zero for a free event.
- Send Confirmation Emails — notify participants when their ticket becomes available. Use Configure Email to edit localized text and choose whether to include the QR code, wallet links, and app-store links. See Confirmation & notification emails.
- Google & Apple Wallet — opens the wallet-pass settings for ticket appearance and availability.
Language & appearance
- Languages — choose which languages the event offers and which is the default. See SEO & multi-language pages.
- Styles — manage the event's colors, typography, buttons, inputs, and corner radius.
Members
Use Add Member to grant access to this event as a Viewer, Editor, or Admin. You can edit roles, remove members, and cancel pending invitations here. See Adding event team members.
Manage Event
- Duplicate event — copy the event setup without participant registrations. See Duplicating events & plugins.
- Danger Zone — permanently delete the event. This action requires explicit confirmation.
💡 Tip: Prefer not to click through every field? Describe the change you want to the AI assistant and it can update supported event settings for you.
Was this helpful?