Share & publish your event page
Every event gets a public page at your organization's address — roughly events-domain.com/your-org/event/your-event. That's where attendees read about your event and sign up. Here's how to get it ready and out the door.
1. Make the page yours
Your page starts from the template you picked, but you can shape it however you like in the Web Builder — text, images, sections, and your branding. In a hurry? Ask the AI assistant to fill it in from a short description.
2. Make sure registration is open
Attendees can only sign up while registration is open. Check your capacity and availability so people aren't turned away unexpectedly — and decide whether to run a waitlist once you're full. See Capacity, availability & waitlists.
3. Custom domain
Optionally you can book a custom domain to attach to you organization or event. This will make your event experience truly white label. It also makes the url more memorable and shorter. A event url will go from events-domain.com/your-org/event/your-event to your-domain.com perfect for a clean apperance.
To book a custom domain, fill out the request form. See Custom Domain Request.
4. Share the link
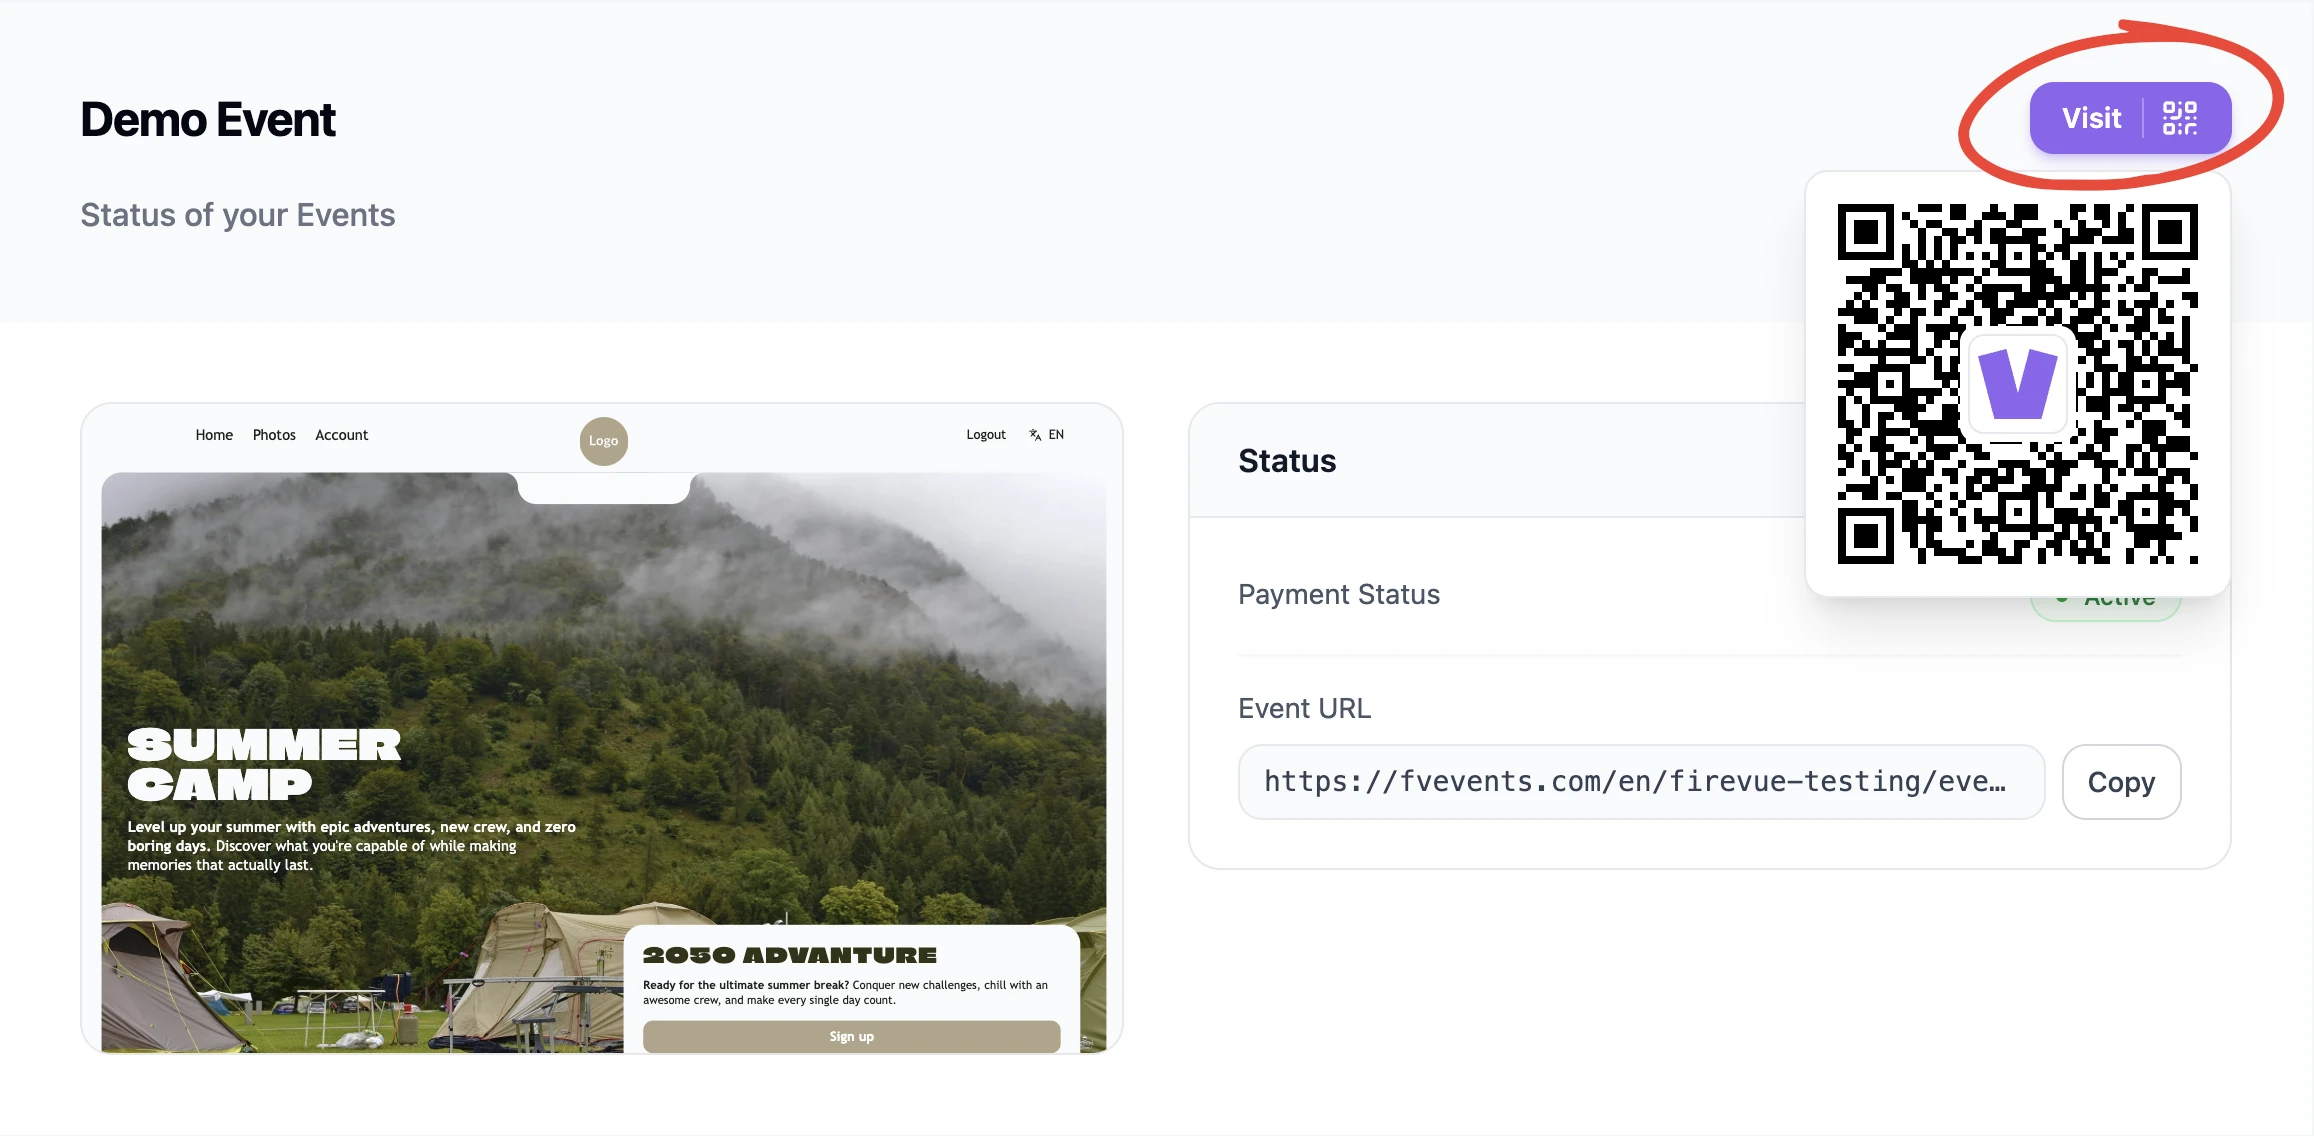
Copy your event's link from the event dashboard and share it anywhere — your website, social media, or email. Anyone with the link can view the page and register.
💡 Tip: Open the page in your browser first to see exactly what attendees will see before you share it widely.
Next step
People are signing up — now learn how to check in your guests on event day.
Was this helpful?